

Hi everyone!
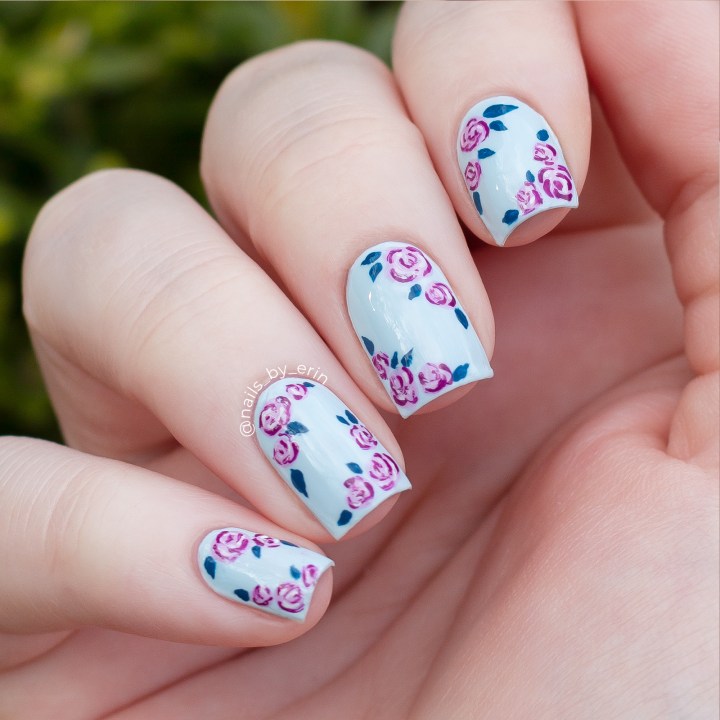
Today I have another floral nail design to share with you! I’m calling these my “April Showers” floral nails because they have a blue color scheme so they really just felt appropriate for April.
I know I’ve done a ton of floral nails before (they’re some of my favorites) but for this one I filmed a video portrait style for my IGTV page. I decided that I wanted to use it for my YouTube channel too, so it just so happened that when I rotated the video for YouTube the video was really up close to me painting the floral details. I thought it would be a great opportunity to do a really in-depth and detailed tutorial of how I do my floral patterns! Hopefully it will simplify the process for beginner nail artists and make them seem much more attainable. Florals really aren’t very difficult, and I hope this tutorial shows you guys in a helpful way!
Keep on reading for more details about the polishes and tools I used for this mani (and of course, more pictures 🙂
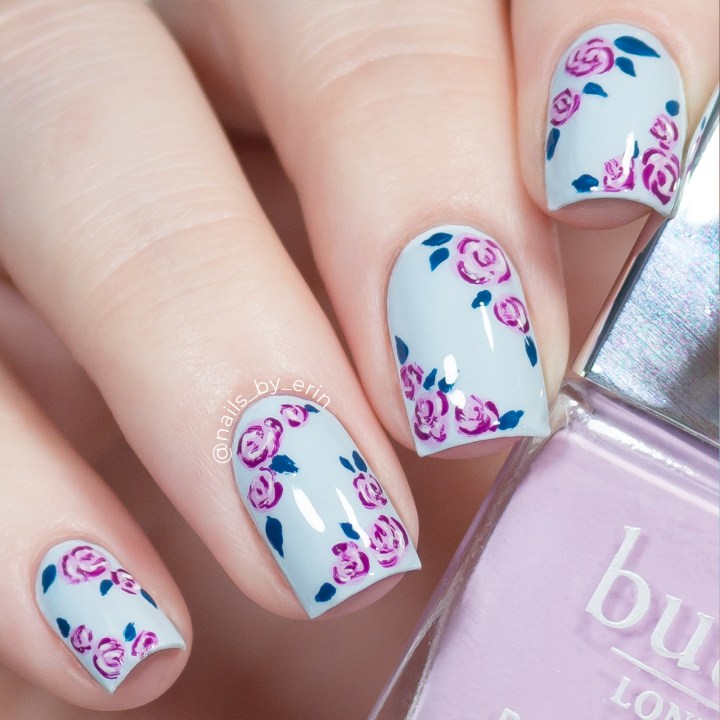
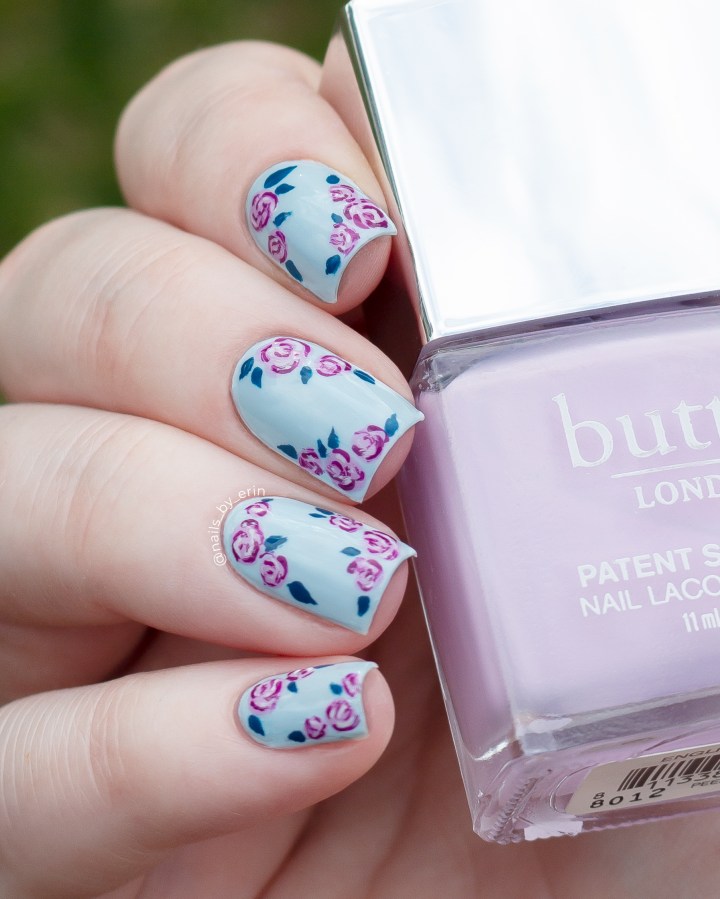
I started with a base of butter LONDON “Candy Floss”, which is probably my all-time favorite shade from them. It’s from their Patent Shine 10X Line, which are all super shiny and long lasting cremes. They are some of my favorite polishes to wear!

Then, I used butter LONDON “English Lavender” to create some messy blob shapes as the base of my flowers. I did a bunch of different sizes and spread them out on the corners of my nails.
Then I took butter LONDON “Chat Up” and painted some teardrop shapes around all of the flowers to be the leaves. I tried to vary the size of the leaves and sometimes I would bunch them together, too. Have fun with it and do as many as you’d like! Sometimes I also like to do my petals with a metallic glitter polish to switch it up 🙂
Next I used butter LONDON “Ace” to create some messy “C” shapes on the flowers to define the petals. I think it’s easiest to start on the outside of the flowers and work your way in, making sure to add lines equally on either side of the flower.
Finally, I added even more definition to the flower petals with my lightest shade, a white creme from butter LONDON called “Cotton Buds“.
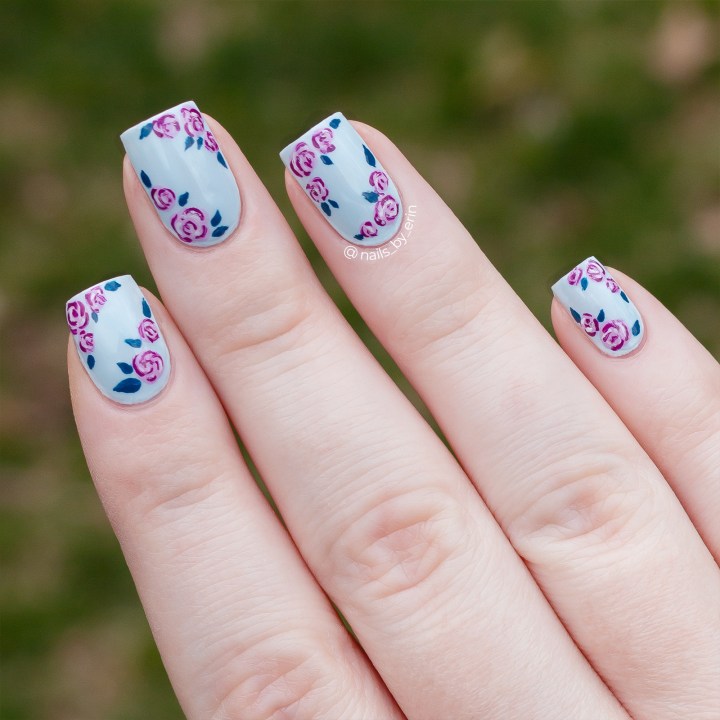
Of course, you can try this technique with any color variation you’d like. I always like to work in a color order of medium (base), dark (defining the petals, and light (adding highlights) for my flower colors. I feel like that helps create the best looking flowers!
Finish with a top coat and there you have your floral nail art! Not too bad, right?
Sorry for the photo spam, I just really liked how these turned out and I wanted to share 🙂
Click here to check out my beginner’s floral nail tutorial on YouTube with voiceovers! I think it’s much more helpful to watch the steps than to read them.
I hope this in-depth tutorial will help some beginners and simplify the process! Please let me know if you enjoyed the video and if you give it a try.
Love,

DISCLAIMER: I am not being paid to use any of these products. I was gifted these polishes by butter LONDON. All opinions expressed are my own. Some links are affiliate links.

Oh wow, so pretty and delicate 😀
LikeLiked by 1 person
Thank you, Ananka! 🙂
LikeLike